Monday, January 12, 2015

Jill Can Cook: Caramelized Baked Chicken Wings

I've been craving some yummy bar food lately. I haven't allowed myself to indulge my desire for greasy, fattening snack-like foods because I knew I'd be going to lots of holiday parties and I'd rather indulge on party treats.

But, now we are done with parties. For all intents and purposes our lives are back to that dull, boring hum. That makes right now the best time to make myself some yummy bar food!

I chose to make chicken wings because that was the dish that was really calling me! I have pinned a lot of chicken wing recipes, but I wanted to start out slow. I didn't want to start out making something super fantastic that nothing else would ever live up to. I wanted to make a recipe that could easily be my fallback recipe. So, I decided on this one here.

Caramelized Baked Chicken Wings


Ingredients:


  • 2 1/2 lbs chicken wings (or chicken pieces)
  • 2 tbsp. olive oil
  • 1/2 cup soy sauce
  • 2 tbsp. ketchup
  • 3/4 cup honey
  • 2-3 garlic cloves (I used 1 tbsp. garlic salt)
  • salt and pepper to taste                                                       
Directions:
 
  1. Preheat oven to 350 degrees Fahrenheit or 180 degrees Celsius.
  2. Place chicken in a 9x13 inch baking dish. Mix together the oil, soy sauce, ketchup, honey, garlic, salt and pepper.
  3. Pour over the chicken.
  4. Bake in preheated oven for one hour, or until sauce is caramelized.
  5. Could also use wings or pork ribs.

I chose this recipe because Joe's mom has been buying us honey and we're just not using it fast enough (or at all, really). We have 2 unopened containers of creamed honey here that I feel like we need to use up. I hate throwing it away. I read the container and it says it doesn't add any ingredient to make it a "creamed" consistency, so I used it like it was regular old honey.
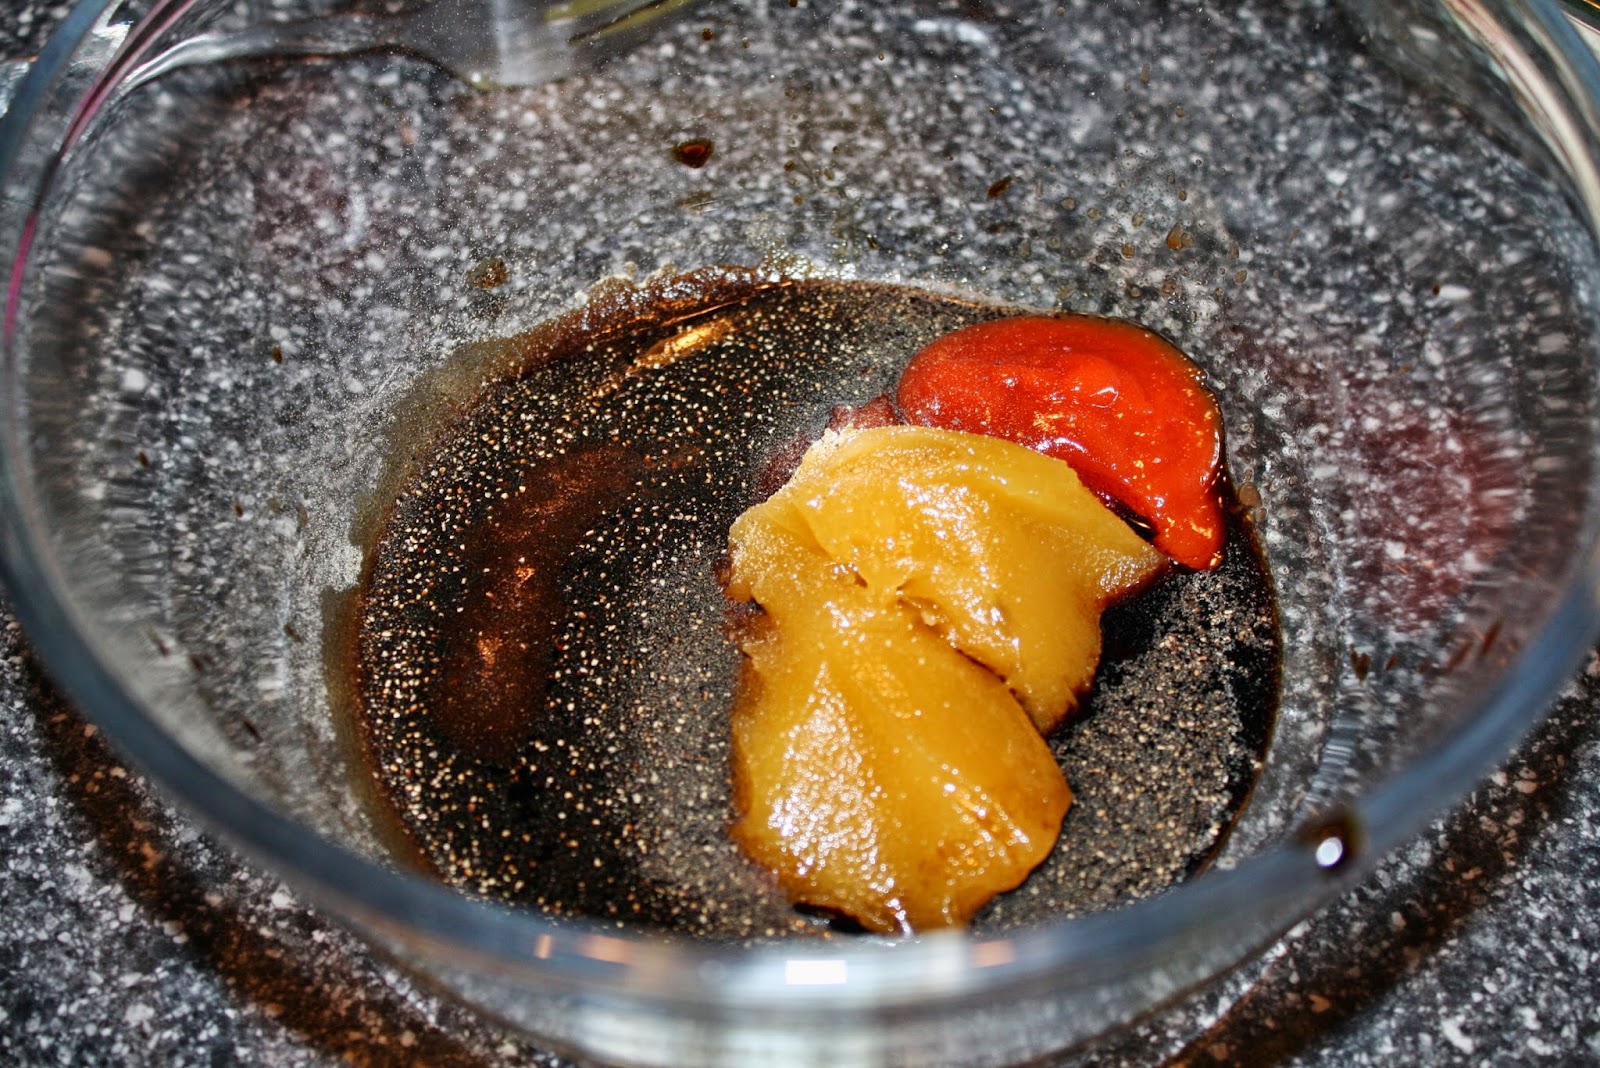
All the "sauce" ingredients getting ready...

The only issue is that the creamed honey is thick, not  runny, so I put it in the microwave for about 40 seconds and Voila! It melted into normal honey consistency.

The wings all sauced up!

The sauce looked a little light, so I made sure to baste the wings twice during the hour cook time to make sure the sauce covered every inch of the wings.

I'm so glad I opted for an easy to put together recipe because Mitchell whined for me to pick him up the entire time I was putting this together. Luckily, the prep time was only about 10ish minutes. Still, having my kid cry for me while I cooked took a little of the joy out of it!!

But, it did not ruin the flavor!

Mmm... Delicious!!

Joe got home from work and said the whole house smelled wonderful. I think I was nose blind to it, or worse, coming down with a cold!!! AAHHHHH I hope not. Anyway, the wings were great! Very juicy, very tender, and very well seasoned.

I think the next time I make this, I might grab the juices and reduce it on the stove to make a tighter sauce for the wings for dipping. Another idea that would have to wait until warmer weather is that these would be great finished on the grill with a little bit of char!

These pictures are awful!!

Oh and the reason I don't have fancy, blog worthy photos of the finished product is because, well, once they were out of the oven, it didn't take long until they were all in our bellies! There almost wasn't an after shot. Haha That's how delicious these were!

I probably won't re-use this recipe for a while because I look forward to trying some of the other wings recipes that I've found. We don't make wings too often, so it could be a while before this recipe comes back around. I wonder what I'm going to do with all that honey in my pantry?! We'll probably be gifted another one before we're able to use even half of what we have here!

Update: My mom and I talk about recipes and the meals we plan to make throughout the week. I told her about this one and she was all like, "I have all that stuff at my house, too, so I'm going to make it, too."

She made some for my dad and my nieces and they all loved it, too. It really is a good recipe in a pinch and everyone I know that's had it, enjoyed it!

Friday, January 9, 2015

Jill Can Cook: Monkey Bread Muffins

The grocery store I patronize was having a sale on Grands biscuits so I picked a couple packages up. Normally, I'd have no interest in making anything besides buttery biscuits to have along side our dinner. Today was a totally different story.

Everywhere I go, I hear people talking about Monkey Bread or I see recipes or someone posts a picture of their Monkey Bread. I've got the dough on hand and I've got the idea in my head and that's how this recipe came to be. I followed this recipe The Frugal Girls and I cut it down just a little bit, too.

Monkey Bread Muffins


I made sure I could crack into the biscuits before I started the recipe. They are like Fort Knox to get into.


Ingredients:
  • 1 (12 oz) packages of refrigerated biscuit dough
  • 1/3 cup of granulated sugar
  • 3/4 teaspoons cinnamon
  • 4 tbsp. butter
  • 1/4 cup brown sugar
  • 2 and 1/2 tbsp. chopped walnuts (optional)
  • 2 and 1/2 tbsp. raisins (optional)
Directions:
  • Heat Oven to 350 degrees. Put liners into muffin tin
  • Mix sugar and cinnamon in a plastic bag. Cut biscuits into small pieces. Shake biscuit pieces in plastic bag and add pieces into muffin cups
  • Continue until all biscuits are gone or muffin tins are full.
  • In a small sauce pan, melt the butter and brown sugar over medium heat. Boil for 1 minute.
  • Drizzle mixture over each "muffin."
  • Bake at 350 for 18 minutes.
  • Cool and eat!  The muffins should just pull apart.

These were the muffin liners I used. Jealous?!


Terrible picture of the cut up biscuits, but you get the idea.

Tossing the pieces in with the cinnamon and sugar.

And this is where I probably should've asked someone who's made these before for some advice. I grabbed all the little biscuit pieces and put them in the bag. The pieces were too sticky to one another to get really covered. I ended up taking out the big sticky biscuit pieces and putting them back in the bag a couple at a time. This worked WAY better.

I ended up with a teeny tiny amount of cinnamon/sugar left over. Awesome.

The little biscuit pieces before I drizzled them with butter/brown sugar mixture.
Heating up the butter/brown sugar sauce.

Right out of the oven! Yum!

These came out good for my first try, but like normal, I feel like I might've done something wrong. They ended up being really hard. I think it was because of the sauce. I might not put the sauce on the next time. It was too chewy when I wanted it to be lighter and fluffier. Also, I'm not sure I used the right kind of biscuits. I'll have to try a different kind next time. But even for all that complaining, I will eat them. Good thing I'm visiting my parents this week. I'm sure they'd love to take a few off my hands.

I really want to make my food look appetizing and stage my pictures well. So, here's my attempt at cute-ifying my Monkey Bread Muffins. Enjoy!


Haha this one looks like a butt crack!
Update: I ended up making 12 muffins. I shared one with the kids after I made them, so by the time Joe got home from work, there were 11 left. He ate 3 of them between getting home and the time we went to bed. I got up the next morning and they were all gone. He ended up taking them all to work with him to share with his coworkers and they were finished by the end of the day. So, sorry Mom!! I had every intention of sharing these with you!

Wednesday, January 7, 2015

DIY: Sort Of Long Dress Into More Fashionable Dress

I always scour the $0.50 rack at the thrift store for dresses that could be made into more fabulous looking dresses. I'm so predictable in my shopping habits that when I told my daughter, Quinn, that we'd be hitting up the thrift store, she asked, "Are you gonna buy a dress, Mommy?" I've got to be careful what I do around her. She always knows my secrets!

Anyway, I found this cute dress.

Quinn hid my black flip flops, so I'm going gold!

I didn't try it on. I figured it had a good print and if it was too small or didn't fit me at all, I could use the fabric for some other project. When I did end up trying it on, it was nearly perfect. It was just a tad too long.

You can't tell in the first picture, but the bodice had this great ruching type detail that was not only flattering, but very comfortable.

Extreme bodice close up. P.S. I'm not sure if it's ruching or something else and I'm too lazy to google it. (-;

Since I totally lucked out on the dress being perfect except for the length, I went the lazy way around and just folded the bottom hem up a couple of times to hem it. No need for scissors today.

I wasn't completely lazy. I did measure to make sure I was doing this evenly all the way around.

Then I got to sewing.

Once around and that was it!

Before I offer up the "after" shots, I just want to mention that when I was folding over the hem, I noticed (and snipped off) a tag that said, "Do Not Iron." So, the after shots are of a slightly wrinkly  dress because that tag was all I needed to confirm my laziness for the day!! Which is probably attributed to the fact that I had to do this in a rush because I only had about half an hour to spare this morning!

I like the way this picture came out, but it's blurry for some reason. Let's try this again.

Much better!! Except now I look like I'm in a bad mood. I just can't win.
Even though this dress has kind of a summery print and is pretty light-weight fabric, we're having a bit of a snowstorm this morning and I wanted my styling to reflect the current weather (for once!!). I really like how it turned out with winter accessories, but I will probably wait to wear this dress until I can wear it like this:

I look much happier in my summer accessories. Coincidence?! Ha ha ha

I love how just the tiniest fix can change an article of clothing from drab to fab. I also love how just a few changes in accessories can take an article of clothing from winter to summer.

Monday, January 5, 2015

Finished Project: Massive Paint-By-Numbers!

Several years ago I was looking for a new hobby to keep me entertained on evenings that Joe worked. An old coworker of mine turned me onto a website that sold a lot of craft/hobby supplies, including huge paint-by-numbers, which really caught my eye. I figured I'd give it a try. I loved the idea of painting and I also loved that I didn't have to think up something to paint. It would all be presented to me with directions and little room for error.

I know what you're thinking, "those are super cheesy!!" But I assure you, the ones I set out to do were very labor intensive. I ordered my first canvas and within a few hours, I was hooked. I found the act of painting to be really relaxing. Plus, I could do it when Joe was around, too, because it hardly took any brain power.

Over the course of the next year or so, I painted more than my share of paint-by-numbers. I didn't take pictures every step of the way for every canvas, but I did for the first one. I enjoyed documenting my progress. Here is my play-by-play:

For $14.99 plus $5.00 for shipping, I ended up with a canvas, one little paintbrush, and these paint colors.


Here is a crappy close up of how small the designated painting areas were.

"Japanese Gardens" right outta the box. 20x16 surface area. 18 colors, plus tons of mixed colors...

Day 1! My progress after 45ish minutes of work.

Day 2, after about an hours worth of work.

Day 3.. About an hours worth of work.. including the 5-10 minutes I spent cleaning up the green paint my cat, Sasha, dumped on the floor!!!

Day 4 after 45 minutes. I have to stop after about an hour because my hand gets a little shaky.

Still on day 4, after another hour long session of painting.

Day 4 after another hour.

Still day 4, after yet another hour... Joe was at work this day and I was home, bored all day, so I worked on it in between chores/housework.

The last hour of day 4.

Day 5 after 35 minutes. It's almost time to start mixing paint colors.

Day 5, after 45 minutes. It's also at this point that I purchased a second paint-by-numbers to start when I finished this one!

Day 6, after an hour. I guess I started getting a cold at this point and found it tough to concentrate, but I powered through.

Day 6, after an hour. I wrote "I'm getting depressed as to how little an hours worth of work is looking." I'm so dramatic.

Day 7, probably about an hour and a half.. Didn't keep track of time because Joe and I were watching "Saving Silverman." He quoted half the movie and I blew my nose a lot.

Day 8 after a couple of hours worth of work. I guess I stopped taking hourly pictures because it doesn't look like much has changed hour to hour.
Day 9 and I'm finally finished!!! This picture constitutes about 50 hours worth of work over the course of 2 weeks!!!! it's dorky, but it was super fun.

I picked this particular painting because I planned to hang it in my bedroom when I was finished. I was able to find a really nice frame for it and it now it proudly hangs on the wall, just like I'd imagined.

It wasn't long before I started a second, a third, etc. Here are some of my other masterpieces:


My second effort. My mom loved it so much that I ended up having this one framed and gave it to her for a Christmas present that year.

This one was smaller than the other 2 and took half the time to paint.

I was going through these so fast that I bought this extra cheap one and the numbers telling you what color to paint were so dark, every color needed 2, sometimes 3 coats. Pain in the butt!! And ugly as sin, too.

I took lots of liberties on this one. The colors they provided were fluorescent and I muted some of them so I could stand to look at it.

Another small one. I opted for a non-cheapy and I ended up with a really pretty painting.

Another small one. I couldn't find any bigger canvases that had paintings that I liked.

The coworker that had turned me on to these in the first place got me this one for my birthday. I took lots of liberties with this one as well.

This one looks terrible in person. It's made to be blurry or something. Maybe I'll hang it in my future lake house.

I originally got this one to paint and give as a gift to Joe's Aunt, but Joe's mom told me that I shouldn't force it on her. So, I kept it for myself. And when Quinn was born, I framed it and now it hangs in her room.

Another small one. This was probably the most labor intensive of all the small ones.

I finished this one while Joe was at work. I sent him a picture of it when I was done. His coworker saw it and thought I was extremely talented, until Joe went and told him that it was a paint-by-numbers! Haha
Running out of options, I finally painted one that I would never hang in my house. My mom likes covered bridges, so I considered giving her this one for Christmas instead of the beachy one.

This is the last one I finished. I finished it about 2 weeks before Quinn was born.

After Quinn was born, I bought another canvas, got about half way through it and then lost the paints in the move to our new house, so I just chucked it. I haven't tried my hand at painting-by-numbers since because there's absolutely no way to do it when the kids are awake and when they're asleep, there are lots of other things I need to do. Plus, they don't come out with new canvases very often and I've done all the good ones.

I think maybe some day, I'll do another canvas or I'll take a stab at painting an absolutely blank canvas with my own creation. Who knows?! They were a lot of fun when I was doing them.