Well, my luck changed last week! I found 2 dresses (one of which is the subject for today's refashion) and a flannel housecoat. One of the dresses, I'm not too sure what I want to do to it; the flannel housecoat is for when I'm desperate for a refashion since it's fine as is; and the other dress, the one I'm going to show you, was a dream!! It had a really trendy print and didn't need all that much tweaking. Here it is:
 |
| My cat, Milla, was my little shadow throughout this entire refashion!! |
You can't tell from this picture, but it's 2 pieces...
 |
| My makeup or the lighting makes me look like Raggedy Ann. I usually look better. Sorry. |
This part of the dress was a little long and a little big...
 |
| I look really mad for some reason in this picture. Why do I screw up all my "befores?" Lol |
The great thing about this dress/blouse combo is that both pieces, together, only cost $.50!!! This will be my cheapest refashion yet! Let's just get the boring details out of the way so we can get to the finished product.
 |
| A rip on the hem of the dress.. |
 |
| A big hole in the back seem of the dress. I guess you could call this the "butt hole." |
Whoever got rid of the dress probably didn't feel like fixing these small problems. That's where I come in...
 |
| Sewing up the hole in the back seam. |
The dress was a little bulky on me, but since it had no zipper or buttons, and I wasn't going to add any, I knew I couldn't tighten it too much, otherwise I wouldn't be able to put it on. So, I made sure to sew the hole in the back seam as close to the seam as possible.
 |
| Pinning the bottom hem. |
 |
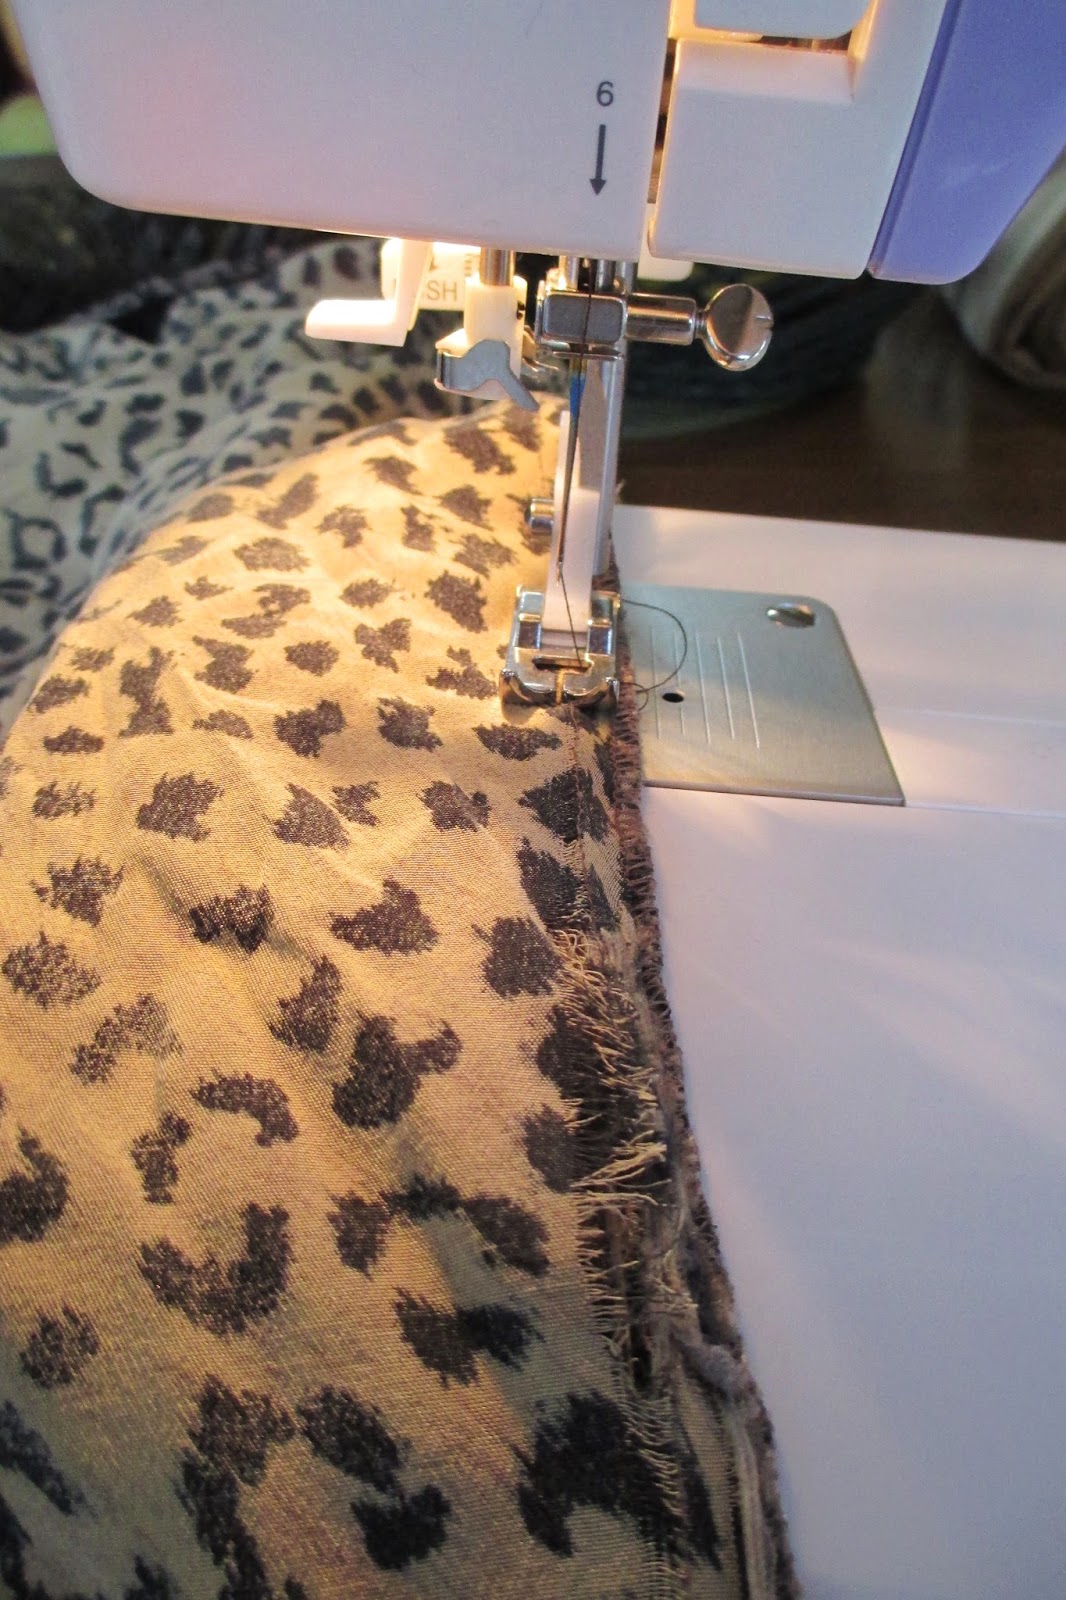
| Super close up!! |
I sewed up the hem and that was it for the dress part of the refashion. I was loving how easy this refashion was coming along. Now onto the coat/blouse portion:
 |
| My least favorite part is the measuring and pinning!!! |
I don't know if you could tell from the before picture, but there were 5 inch slits on each side of the coat. I didn't like that, so I took each side in an inch as well as taking in the sleeves a little in order to tighten them up.
 |
| The last sewing picture of this post!! |
And that's it, folks!! Now it's time for the big reveal!!
 |
| Milla wanted in on the after shots, too! |
I knew how I'd style this portion of the dress when I saw it in the store. I'd wear it belted with a cardigan and some heels. I was not surprised when I ended up loving this look!
 |
| Letting Milla take center stage with me! |
Too bad I didn't start out with a good idea of how to style the coat part of this outfit. I tried it on with a few things and it just didn't look that great. I tried it buttoned and unbuttoned. Untucked and tucked in. I debated taking it back to the sewing machine and trying to rework it there. Then I got an idea. Well, it wasn't my idea necessarily. I was reminded of something I've seen other refashion bloggers do: Turn it around!! This ended up being the perfect solution:
 |
| I wanted to keep with the "cat" theme. This is me clawing at you or something. |
Once it was turned around, it looked much more dressy than it was before. So much so, that I grabbed these cute, black shorts I recently got at Old Navy for the end of season sale and some black tights to finish the look.
 |
| My other cat, Toby, has been sitting on the chair behind me in every photo, too! Lol. |
Umm.. Mom? Can you babysit for me twice?! I am dying to wear this out before years end, too!
I've only been doing this for 2ish months. This is only my 6th (and 7th, if you count each piece separately) clothing upcycle. I'm not a professional by any means, but today, I really feel good about what I'm doing. I've felt good about my work before, but I haven't felt very confident about the process. Today I did. It was a bit of a turning point.
Let's hope my kids keep being good kids while I work on this stuff so I can do it more often!!
 |
| Hope you guys enjoyed it!! |
No comments:
Post a Comment